Loan Servicing and InterestCalculation Software
Margill
Loan Manager
Transform hours of loan Servicing into minutes.
Save time – avoid errors – generate real-time reports.

Margill
Interest Calculator
The global standard for simple and complex interest calculations, amortization, and more.
Margill
Law Interest Calculator
The most trusted interest calculation solution for legal professionals.

Why Margill
Proven Reputation
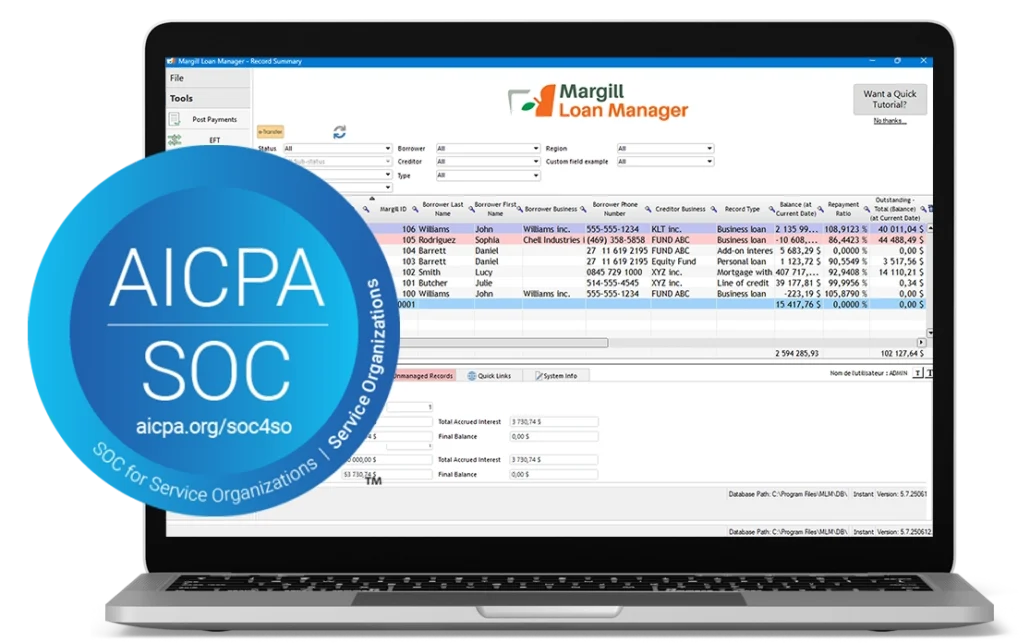
Margill products are used in over 50 countries by thousands of professionals and organizations, including the U.S. Securities and Exchange Commission (SEC), Toyota USA, Department of Justice Canada, SBA Bank, Manulife Financial, Norton Rose to name a few…. Margill Loan Manager Cloud is now SOC2 compliant.
Solid Mathematics
Margill products are the choice of public – and private-sector companies, regulatory agencies, banks, law firms, courts, accountants and governments because of their mathematical superiority – handling complex payment scenarios, irregular schedules and special refund methods.
Flexible Customization
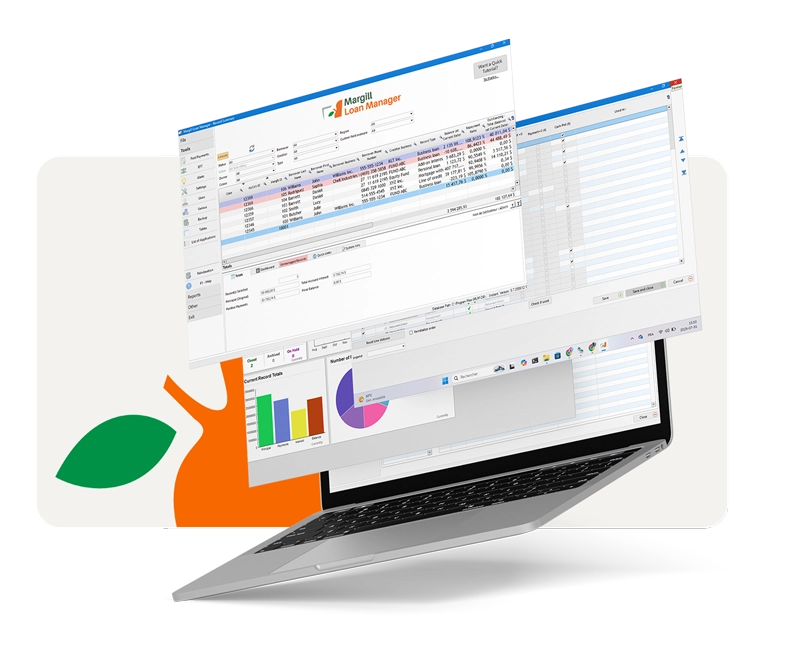
With unlimited custom fields, menus, dashboards, payment types and reports, Margill Loan Manager allows you to configure the software to match your organization’s reality. Talk to one of our specialists to learn more.
Unparalleled support
The Margill team includes experienced senior and junior programmers, lawyers and external consultants. When it comes to interest calculation and loan management, Margill is the expert.
Margill &
Industry News
Stay informed about Margill’s latest product innovations, industry trends, and financial software updates.
Testimonials
Discover testimonials from our users and their experience with our… beyond expectations… products and services
-
We started a small micro loan company in 2016, with little to no experience and loan management. Marc and the team were exceptional in steering us in the right directions, but more importantly, the software performed like a champion. The ease of loan and loan document management, the seamless transfer of data between Margill and Quickbooks, and the EFT integration make this program indispensable. I HIGHLY recommend this to anyone thinking of starting a business in the loan industry.
Jonathan Jacobson, 198Loans.com
-
We are a small business with a few hundred ongoing loans. Although some upfront learning is required Margill is ultimately easy to use and powerful. The technical service provided by Margill is some of the best we have found among software companies.
James Hutchison, Hutchison Oss-Cech Marlatt
-
Once you have set up everything accordingly. Margill loan manager is really easy to follow. It helps us creates a loan in few minutes. It is very useful in reviewing our clients information and their payments history. Updates were recorded efficiently for future references.
Kaye C, Adwell Financial Services Inc.
-
We have been using Loan Manager for nearly two years. We are very satisfied. We find posting payments, creating new accounts, preparing end of month reports and sending monthly statements to be easy and always accurate.
Donald Ross, Moose International, Inc.
-
The Prescott-Russell Community Development Corporation (PRCDC) has been using Margill Loan Manager software since 2013.
With Margill, we can create reports for all our needs and the needs of our clients, whether for a general or specific report, with the huge field base, equation management, standard or tailored reports. The calculation tables (depreciation) are clear and very precise.
Even tasks such as correspondence, databases, global calculations, individual calculations, and billing are done with ease. It is a user-friendly, professional software, and a charm.
We would also like to note that the support of the Margill team was and is still phenomenal and on behalf of the SDCPR, we thank you.Pauline Chevrier, Prescott-Russell Community Development Corporation
Some of our clients


Questions ?
Ask us !
Questions about Margill solutions? Our team is here to help! Reach out with any inquiries, and we’ll provide the answers and guidance you need.
+1 877 683-1815 / +1 450 621-8283